Muh.Ridwan
New member
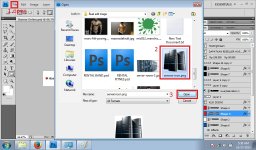
Tutorial Membuat Logo Studio (Part II)
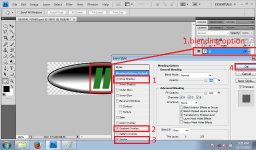
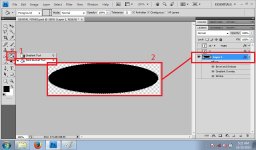
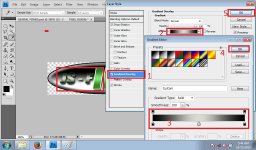
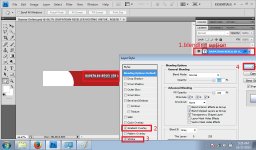
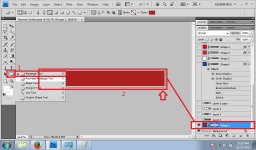
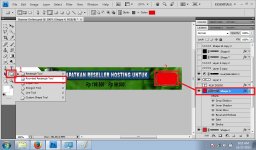
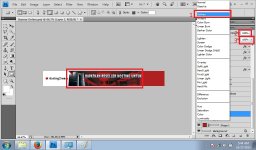
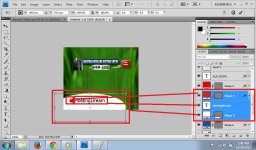
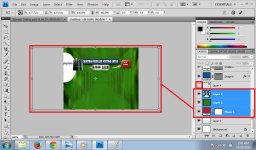
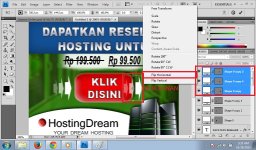
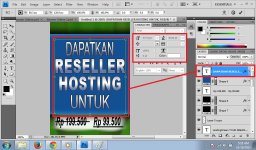
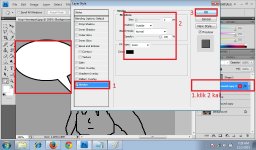
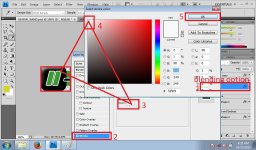
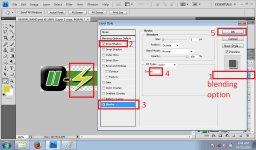
klik tombol kanan mouse,..
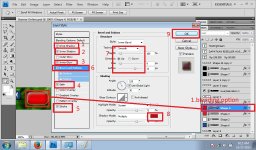
Blending option lalu ikuti petunjuk berikut seperti pada gambar

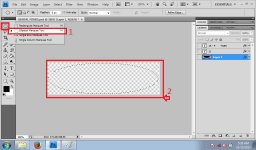
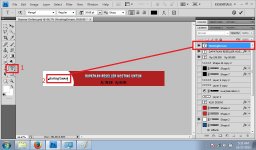
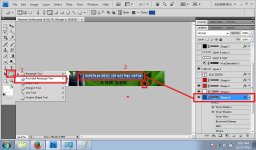
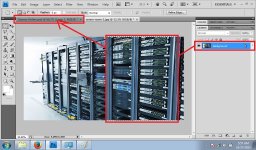
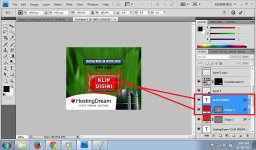
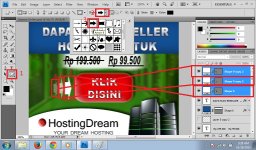
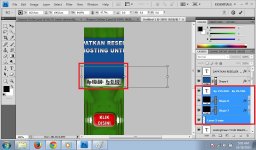
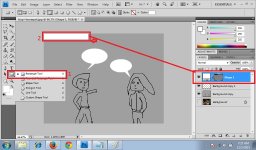
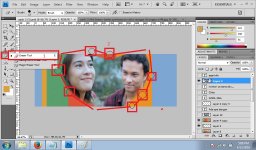
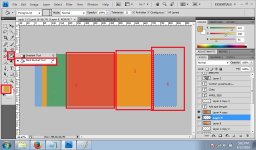
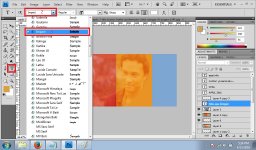
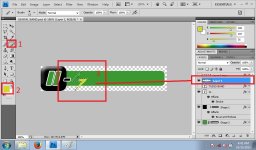
kita coba gambar objek dengan menggunakan polygonal lasso tool

gambar

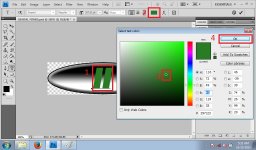
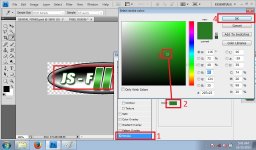
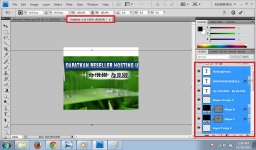
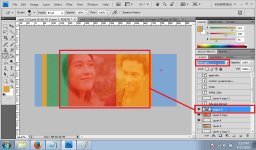
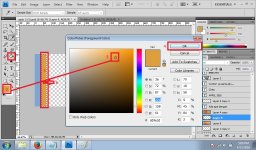
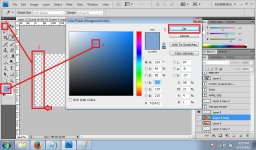
warnai

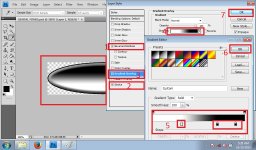
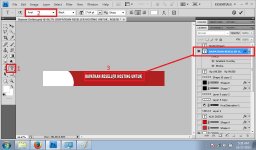
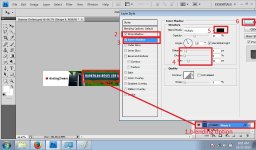
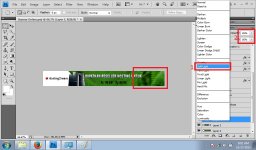
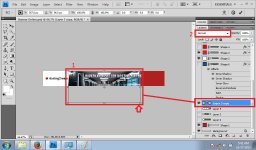
lalu seperti tadi,.. blending option dan ikuti petunjuk

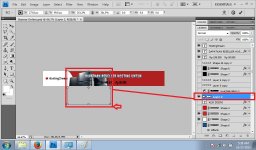
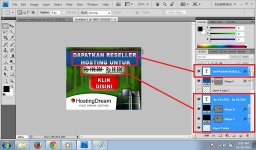
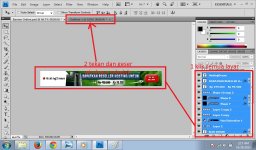
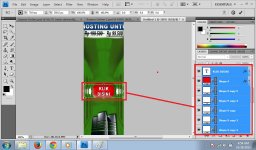
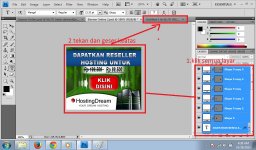
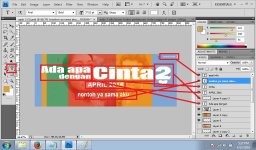
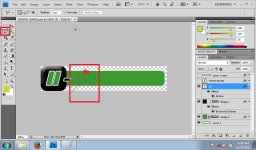
buat text dan edit lagi seperti tadi

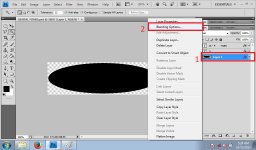
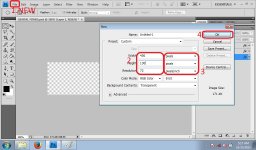
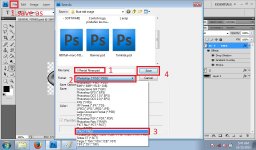
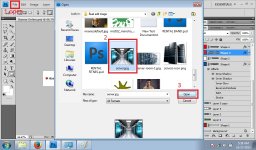
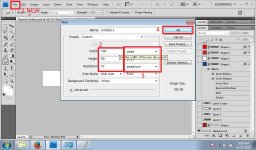
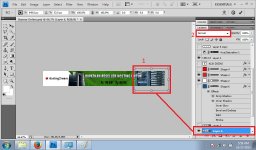
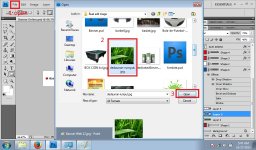
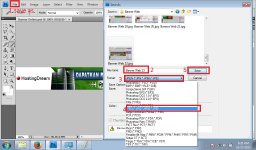
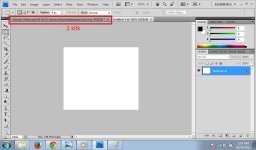
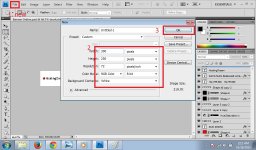
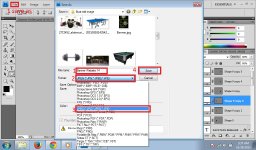
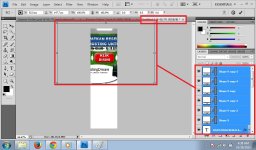
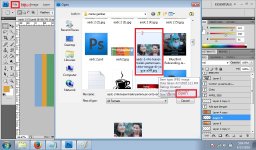
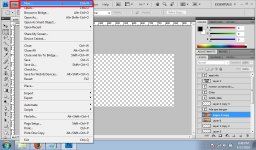
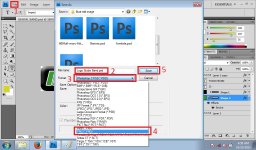
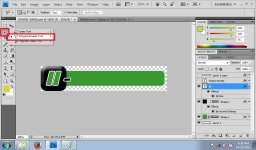
save, ikuti petunjuk

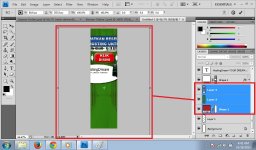
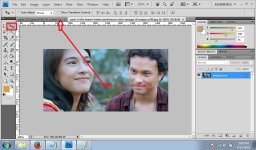
hasil

klik tombol kanan mouse,..
Blending option lalu ikuti petunjuk berikut seperti pada gambar
kita coba gambar objek dengan menggunakan polygonal lasso tool
gambar
warnai
lalu seperti tadi,.. blending option dan ikuti petunjuk
buat text dan edit lagi seperti tadi
save, ikuti petunjuk
hasil
Attachments
-
 II Studio Band 11.jpg164.9 KB · Views: 708
 -
 II Studio Band.jpg30.7 KB · Views: 86
 -
 II Studio Band 17.jpg175 KB · Views: 86
 -
 II Studio Band 16.jpg144.2 KB · Views: 175
 -
 II Studio Band 15.jpg152.1 KB · Views: 150
 -
 II Studio Band 14.jpg135.2 KB · Views: 95
 -
 II Studio Band 13.jpg127.3 KB · Views: 108
 -
 II Studio Band 12.jpg131.2 KB · Views: 101